install.packages("tinytex")Creating a PDF code report
This tutorial shows you how you can automatically create PDF code reports with a single click in RStudio, and it provides a few tips for how to organize your code effectively.
1 Step 1: Install the tinytex package (if you haven’t already)
Tip
You should already have installed all the necessary software to create PDF reports when you went through Tutorial 0 – but just in case you did not: You need to install a package called tinytex.
tinytex is really nothing more than a tool to install the TinyTex software automatically through RStudio, which you need to be able to create PDF code reports. TinyTex is a small version of the LaTeX typesetting software, which RStudio then uses to create the code reports.1
You install tinytex just like the other packages:
Once that is complete, you run the following in your Console to install the TinyTex software:
tinytex::install_tinytex()The download may take a bit of time (and there’ll be code gibberish).
Warning
You only have to do this a single time. Just like you do not have to re-install Instagram every time you want to post a picture of your knees at the beach, you do not have to re-install tinytex every time you want to create a code report. You also do not have to load the tinytex package with library() at the start of your code file.
You may get an error message that looks like this:
Found '/Library/TeX/texbin/tlmgr', which indicates a LaTeX distribution may have existed in the system.If that is the case, press N for No and cancel the installation. Most likely, you already have the necessary software installed to create PDF reports.
2 Step 2: Do your analysis and document your code
If you want to create a code report, you obviously need to have some code and results first.
To make everything as smooth as possible, use the code structure guide (provided on Canvas) to organize your code from the start. See also the example code report (on Canvas) to see how yours should ideally look like.
3 Step 3: Make sure everything works without problems
Warning
You can only create a report if your code runs from start to end without breaking, meaning without generating an error message. This means that there cannot be any typos, etc. in your code.
You can easily test if everything works by doing the following:
- Re-start
R(inRStudio, go to Session in the menu at the top, then click on Restart R). - Make sure that
Rdoes not load the previous results and data. Your Environment window should now be empty. (If it is not empty, change the settings inRStudioas described in Tutorial 0, section 4.1). - Select all the code in your scriptfile (right-click, Select all)
- Run the code (e.g., by clicking on Run in the menu bar at the top right of your scriptfile)
If everything works, then R will now execute all your code from the start to the end and reproduce all your results, one after the other. Make sure that all the results (graphs, tables, statistical tests) are the exact same as those you present in your assignment.
On the other hand, if there is an error in your code, R will stop and give you an error message. Obviously, you then need to fix this error, which means you have to “de-bug” your code.
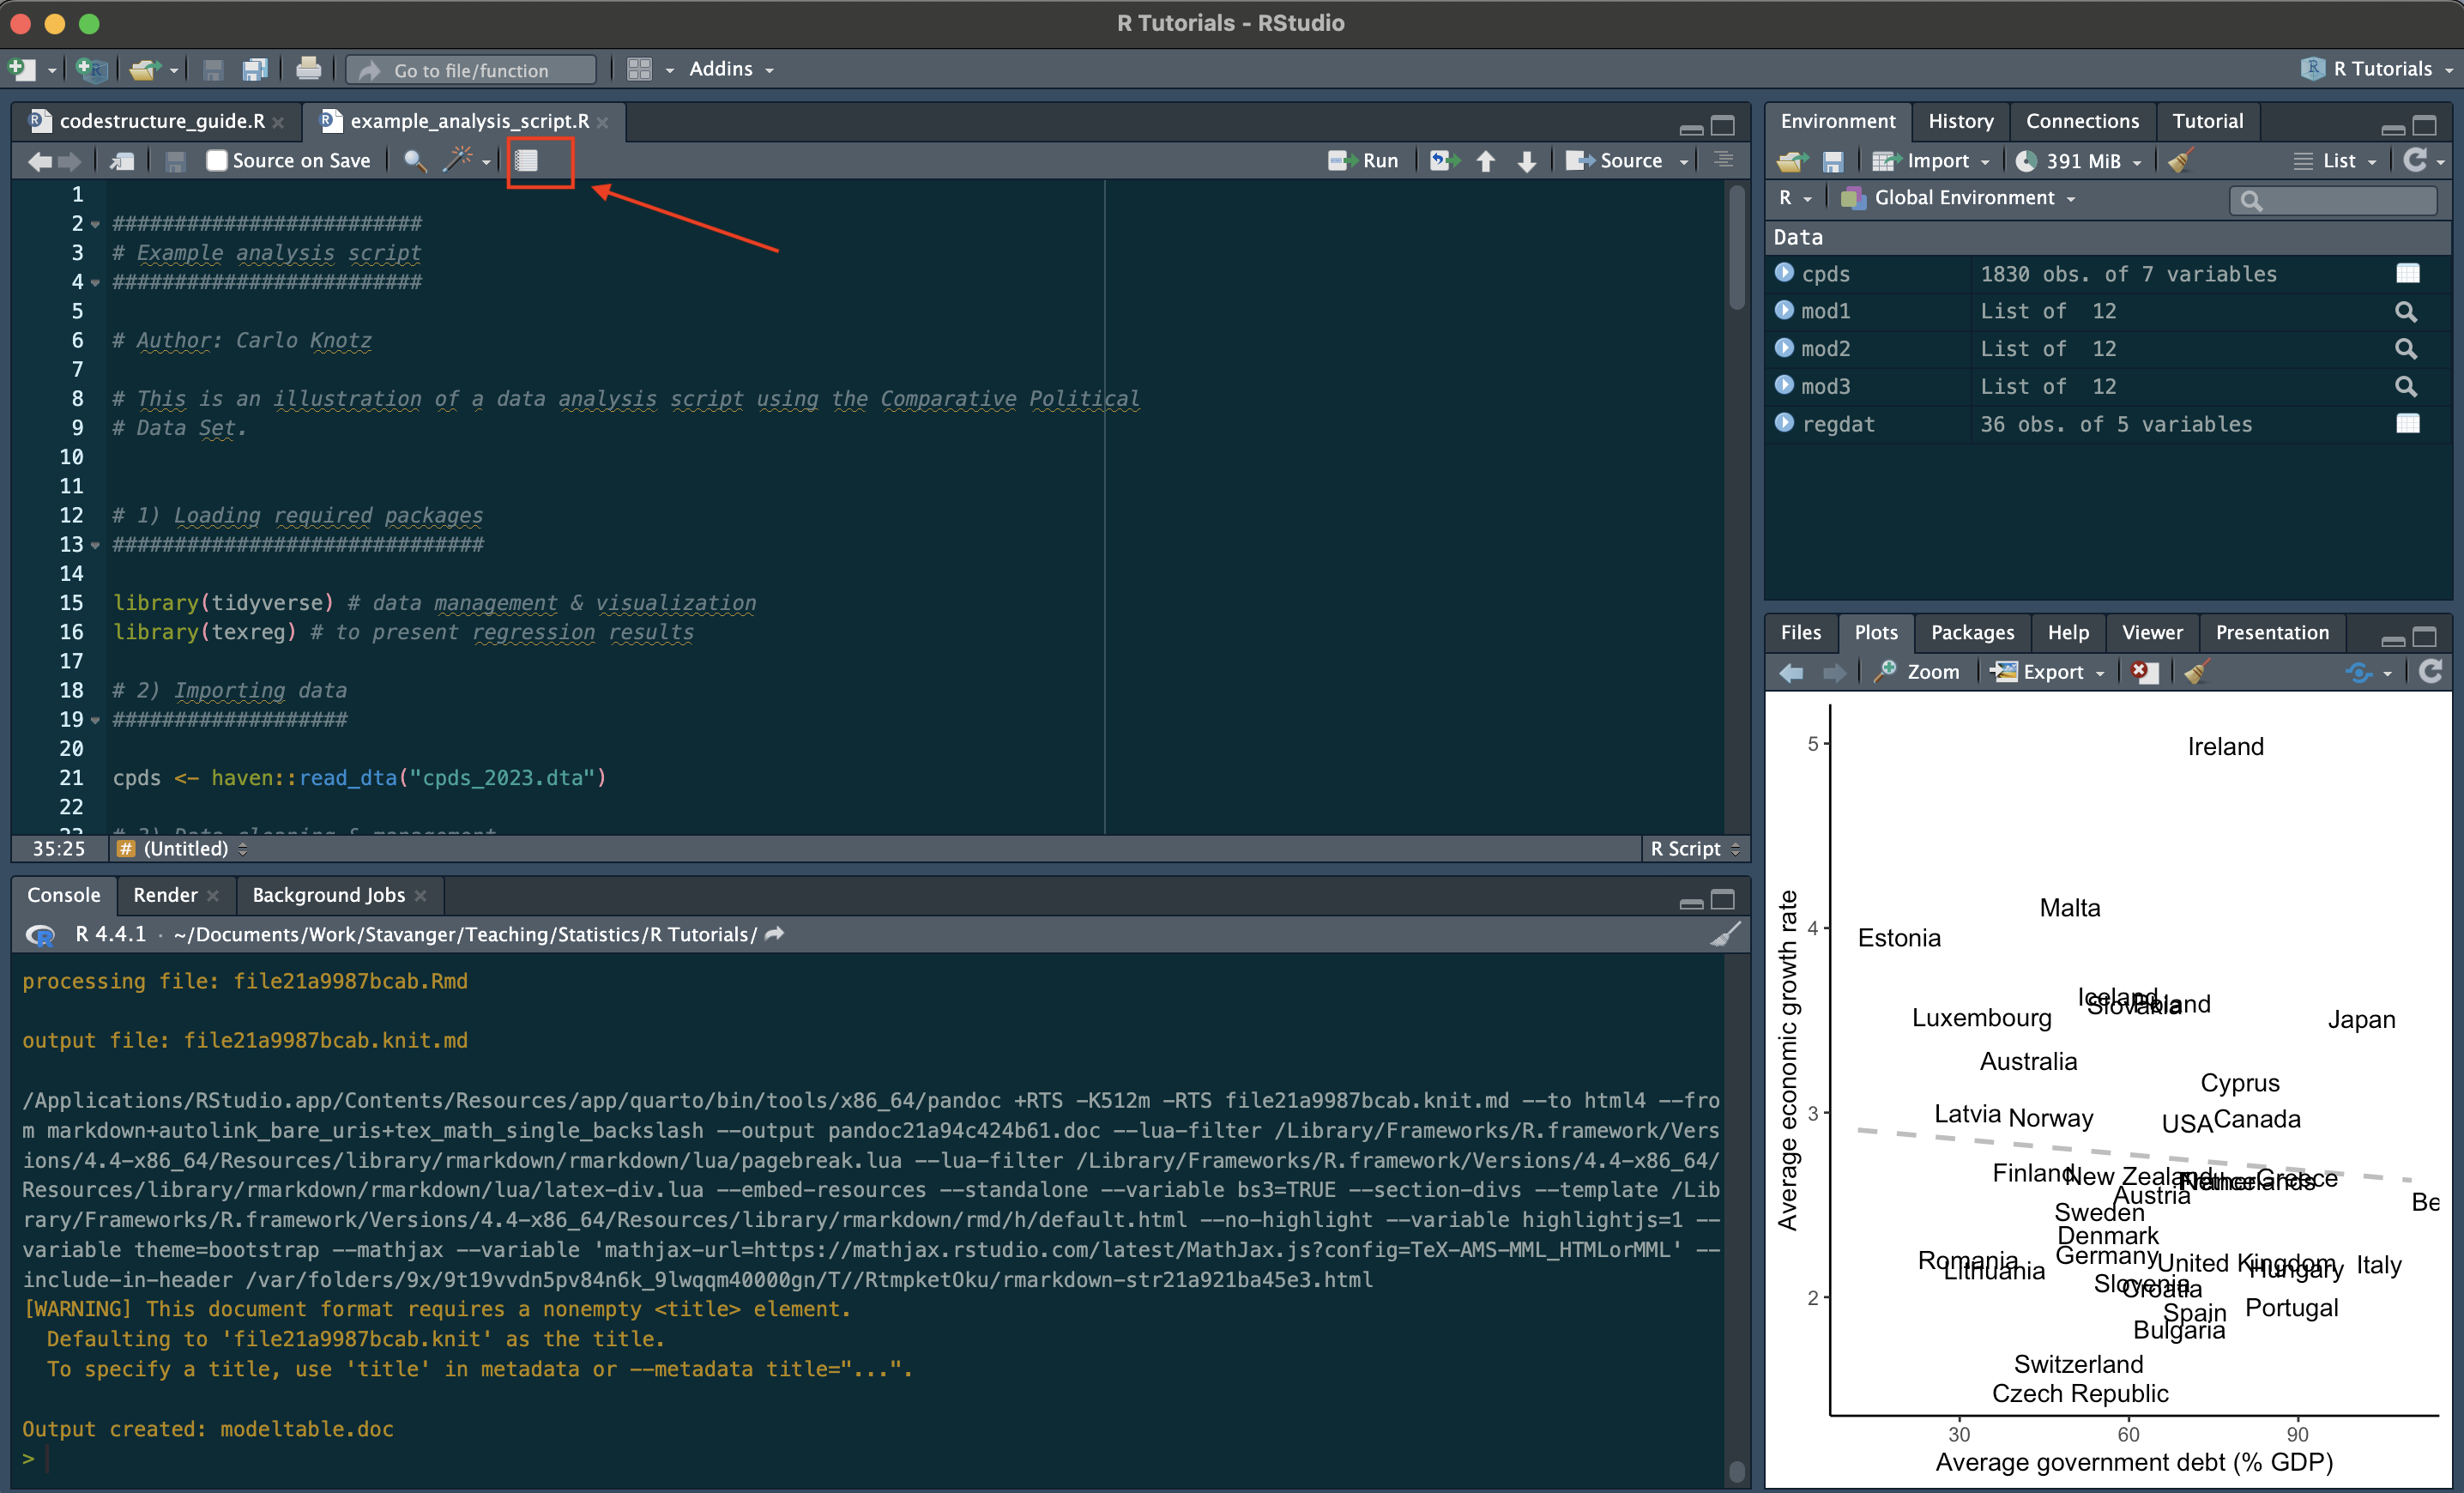
4 Step 4: Create the report
If you have tested that your code runs without errors or problems, then all you have to do is to click another little button as shown in the screenshot below:
A small popup window asking you in which format you want to create the report should appear now – obviously, select PDF.
RStudio should then create the report and open it as a PDF window. It may also install a few additional packages when you do this for the very first time.
5 Step 5: Check the report
As before: Make sure that all the results (graphs, tables, statistical tests) are the exact same as those you present in your assignment.
It is fine if the report looks a bit messy as long as all the results are there and a reader can identify them. You have your main text to present the results in a neat and polished fashion.
Footnotes
See also https://yihui.org/tinytex/.↩︎